I spent forty-five minutes last week searching for cumin. Cumin. I have a small apartment kitchen and somehow I lost an entire spice jar. I found three expired cans of beans, two bags of pasta I forgot I owned, and a container of something unidentifiable that may have been food in 2019.
That was the moment I realized my pantry wasn’t just messy — it was actively working against me.
I decided to build a complete pantry organization system from scratch. Not the kind that requires a Pinterest-perfect aesthetic or matching containers that cost more than my rent. Just a real, functional system that actually works in a real kitchen with a real person who sometimes forgets what she owns.
Here’s the exact step-by-step method I use to keep my pantry organized and my sanity intact. This system works in small pantries, big pantries, and kitchens with barely-there storage.
Table of Contents
Why pantry organization actually matters
A disorganized pantry costs you time and money. You buy things you already have. You cook the same meals because you can’t see what’s available. You waste food because expired items hide in the back.
But beyond the practical stuff, an organized pantry changes how your kitchen feels. It stops being a source of stress every time you open the door. You actually know what you have, which means cooking feels easier and more creative.
Here’s the thing: you don’t need a fancy system. You just need one that works for how you actually cook and live.
Step 1: Assess what you actually have
Before you buy containers or reorganize anything, pull everything out of your pantry and see what you’re working with. Every spice. Every can. Every random food item hiding in the back.
I did this on a Saturday morning and was honestly shocked. I had six containers of flour. Six. I also had ingredients for exactly zero complete meals, which explained why I was always ordering takeout.
Make a mental note (or literal note) of what categories dominate your pantry. Are you a baker? A soup person? Do you have enough snacks for a small army? This tells you what your pantry actually needs to accommodate.
Step 2: Declutter ruthlessly
Throw away anything that’s expired, stale, or something you’ll genuinely never eat. Yes, that fancy ingredient you bought for one recipe you never made. Yes, that ancient jar of something. Let it go.
I threw away about a third of my pantry items. Trash bags of stuff. Things I was keeping “just in case” that were just taking up space and creating visual clutter.
Once everything is gone, wipe down the shelves. Clean pantries look fresh and make organizing actually enjoyable.
🧹 Shelf liners: If your pantry shelves are sticky or stained, removable shelf liners make everything look intentional. These adhesive-free ones are easy to replace and worth the small investment.
Step 3: Create your categories
Group items by how you use them. These are the categories that work for most kitchens:
- Dry goods: Flour, sugar, baking supplies, rice, pasta
- Canned goods: Vegetables, beans, soups, sauces
- Spices & seasonings: All your flavor makers
- Snacks: Chips, crackers, bars, popcorn
- Oils & condiments: Oils, vinegars, sauces, dressings
- Breakfast items: Cereals, oats, granola, coffee
- Baking extras: Chocolate chips, nuts, extracts
You might combine categories or create new ones based on what you actually use. The categories only matter if they match how you cook.
Step 4: Choose the Right Containers for Your Pantry Organization System
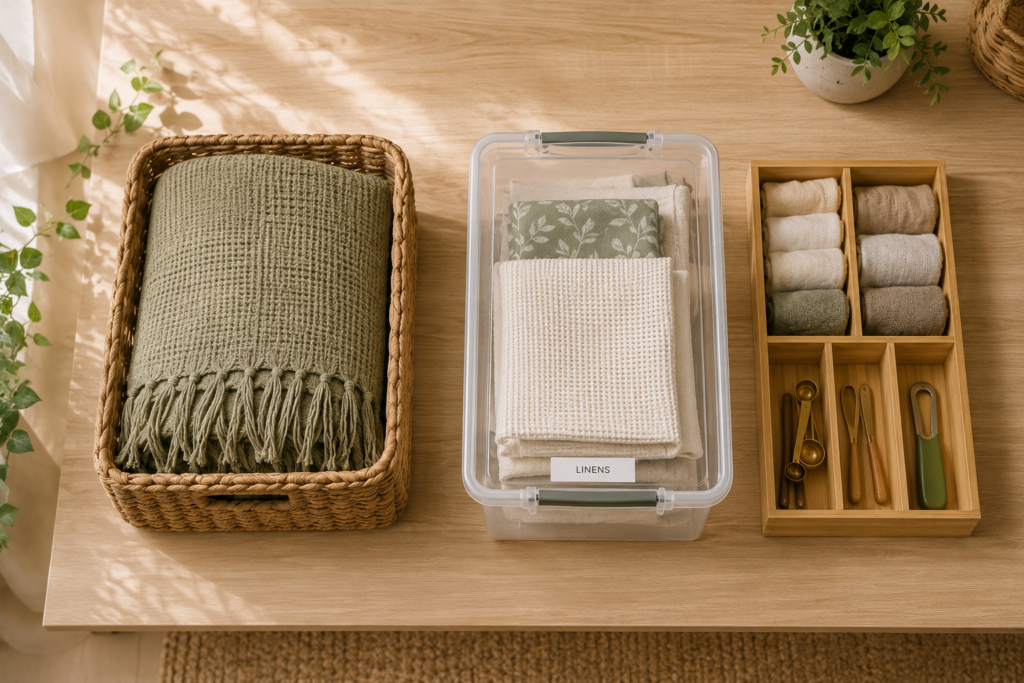
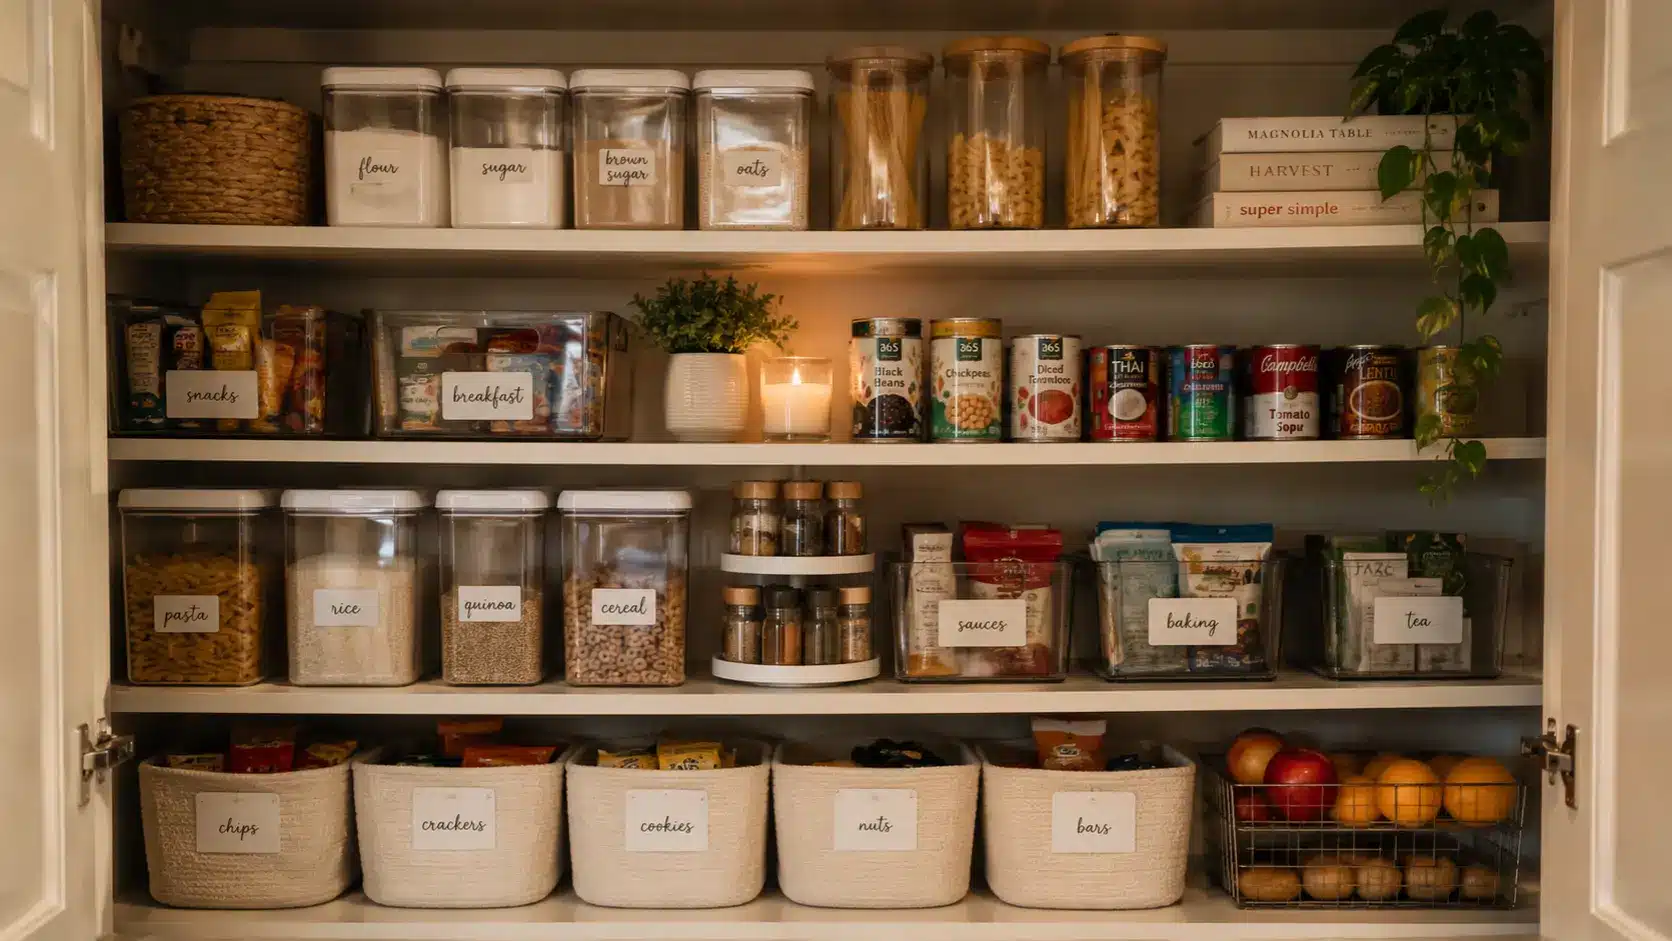
This is where people go overboard. You don’t need matching everything. You don’t need expensive glass containers. You just need containers that are:
- Clear (so you can see what’s inside and when you’re running low)
- Airtight (keeps food fresh and prevents spills)
- Stackable (maximizes vertical space)
- Realistic to your budget (thrift stores have great finds)
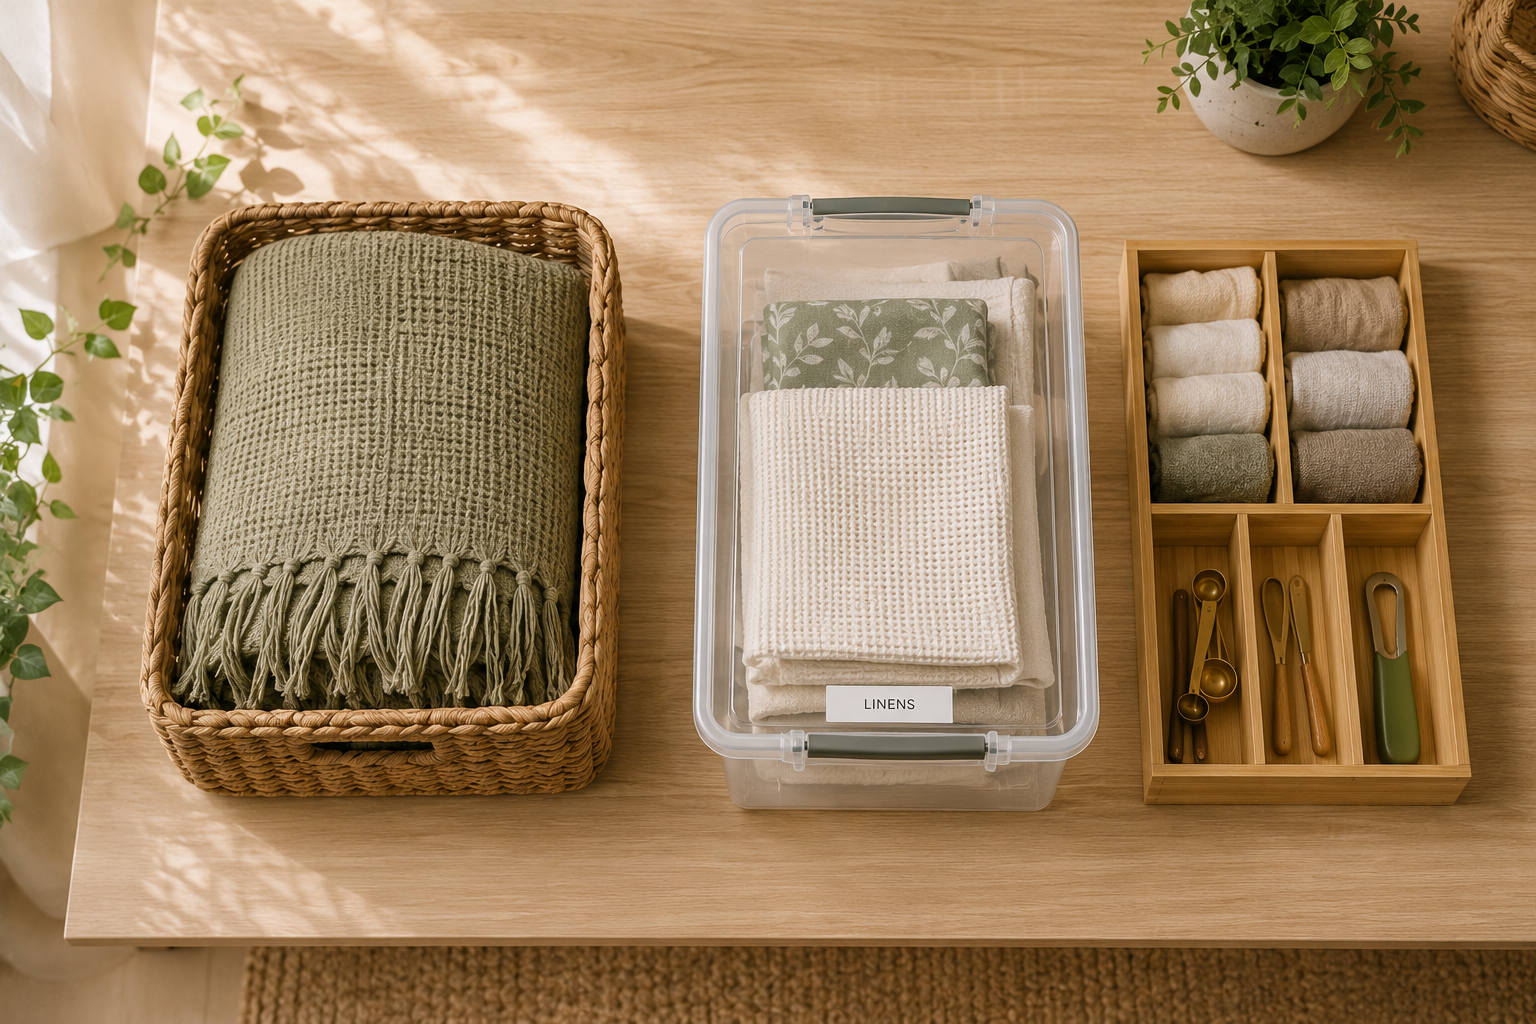
I use a mix of clear plastic containers, glass jars I already had, and some repurposed containers from takeout. None of it matches. All of it works.
📦 Container starter set: If you need to buy containers, I recommend a basic clear plastic set with multiple sizes. This stackable set covers most dry goods without a huge investment.
If your kitchen is also cramped, check out my 19 small kitchen organization ideas — many apply to pantry space too, especially the vertical storage tricks.
Step 5: Arrange by frequency and eye level
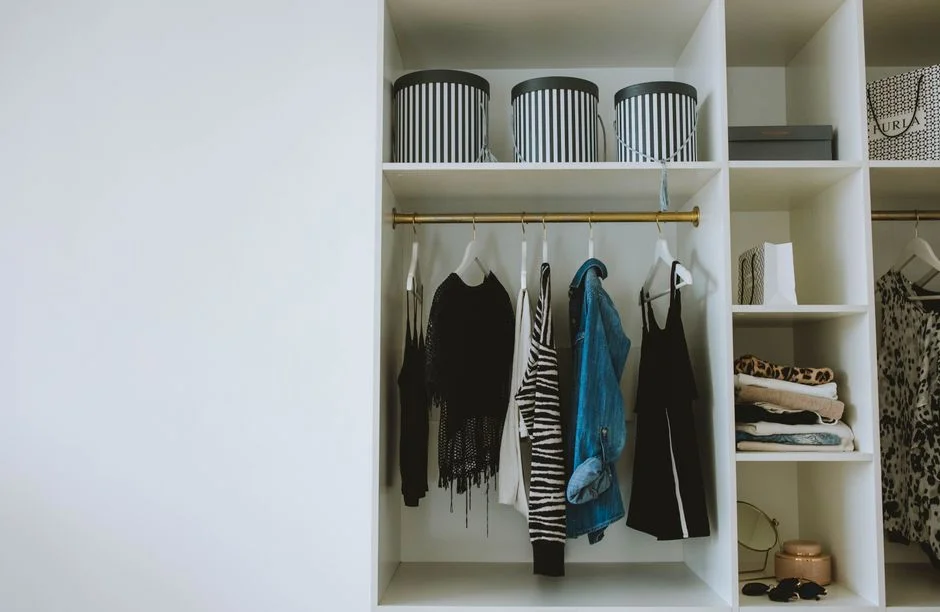
Here’s the real organizing principle that changes everything: put items you use frequently at eye level, in easy reach. Items you rarely use can go higher or lower.
Eye level (ideal for daily use items): Coffee, tea, oil, most-used spices, everyday snacks, flour Upper shelves (good for occasional items): Fancy baking ingredients, holiday spices, backup supplies Lower shelves (heavier items): Canned goods, glass jars, large bulk items
Group each category together, even if it means leaving some gap space. The visual organization matters more than squeezing everything in.
Step 6: Label everything (this matters more than you think)
This is the step people skip and regret. Labels prevent you from buying duplicates and save you time when you’re cooking.
Label your containers with what’s inside and the expiration date. Use a label maker if you want it to look pretty, or just use a pen and painter’s tape — it works fine.
I also label my shelves with category names. “Baking Supplies,” “Breakfast Items,” etc. This keeps the system intact even when someone else in your house (looking at you, husband) puts things back in random spots.
🏷️ Label maker: A cheap label maker is genuinely worth it. This basic one costs about $10 and makes organizing feel official and actually organized.
Step 7: Create a maintenance routine
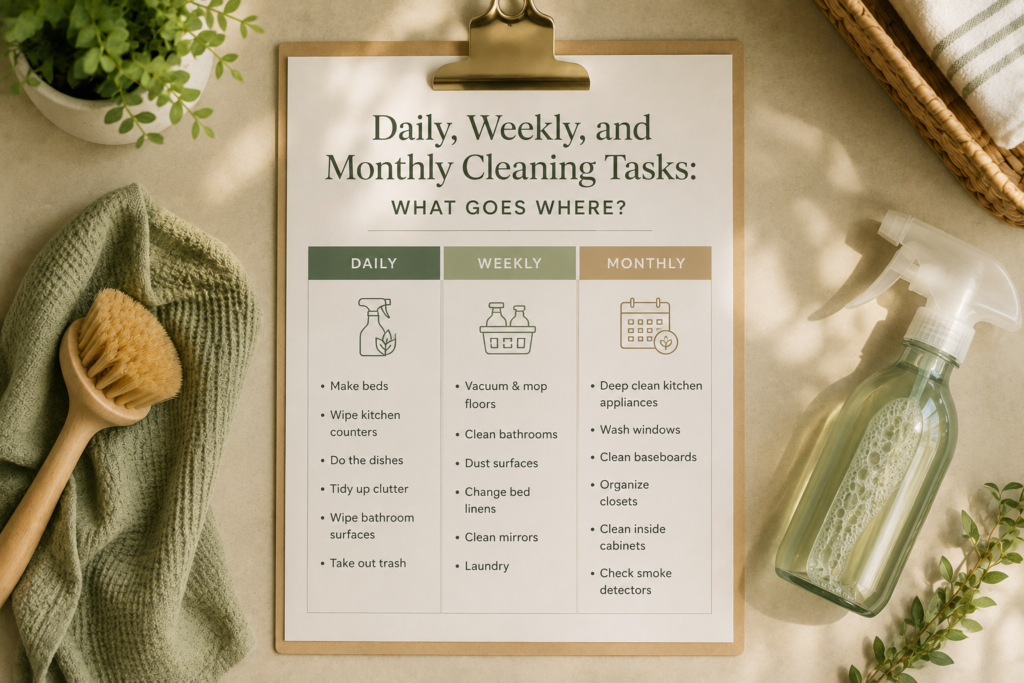
An organized pantry only stays organized if you maintain it. This doesn’t mean spending hours every week. Just five minutes when you see something’s off.
My routine: When I put groceries away, I do a quick scan. Are things still grouped by category? Is anything expired? Are labels still visible? If something’s off, I fix it immediately instead of ignoring it for weeks.
Once a month, I pull everything forward and check the back of shelves for forgotten items or expired goods. Takes about fifteen minutes and prevents the “where did that even come from” surprises.
Since you’ll be in and out of the pantry daily, adding this to your 15-minute daily routine helps keep it fresh. Just a quick wipe of the shelves when you’re doing your evening tidy.
Real talk: It will get messy again
I spent an entire Saturday organizing my pantry perfectly. By Wednesday, it was chaos again. Someone put pasta in the wrong spot. A bag of chips got torn open. Jars weren’t stacked straight.
This is normal. This is real life. An organized pantry doesn’t mean a perfect pantry that stays perfect forever. It means a system that’s easy to reset when things get messy.
The difference is now I can reset it in five minutes instead of spending a weekend agonizing over the mess. The system is maintainable because it’s simple.
Pantry organization on a budget
You do not need to spend a lot of money. My entire pantry system cost under $50, and that included new shelf liners and a label maker.
Here’s how to keep costs down:
- Use containers you already have. Old jars, food storage containers, anything clear and airtight
- Shop thrift stores for glass jars and canisters (usually $0.50-2 each)
- Reuse containers from takeout or bulk food purchases
- Use a pen and painter’s tape for labels instead of a fancy label maker
- Don’t buy matching sets. Mix and match what works
The free or nearly-free options work just as well as the expensive ones. All that matters is that you can see what’s inside.
Mistakes I made (so you don’t have to)
Mistake 1: Buying containers before decluttering. I bought nice containers, filled them, and still had stuff I couldn’t fit. Declutter first, measure, then buy exactly what you need.
Mistake 2: Using non-clear containers. I bought some pretty opaque jars because they looked nice. I could never remember what was inside. Go clear.
Mistake 3: Organizing by how it looks instead of how I cook. I grouped by shelf instead of by use. It looked organized but was impossible to actually cook with. Group by how you actually use items.
Mistake 4: Not labeling. I thought I’d remember. I didn’t. Labels are not optional.
Mistake 5: Putting rarely-used items at eye level. That fancy baking powder I use once a year took up prime real estate. Remember: frequency determines placement.
Mistake 6: Being too precious about the system. I was so worried about maintaining perfection that I stopped using my own pantry. Let it be real. Function beats beauty every single time.
Once your pantry is organized and peaceful, you’ll have more mental space for other things — like building that cozy reading corner you’ve been thinking about.
A functional pantry changes how you cook. Suddenly you can see what you have. You use ingredients before they expire. You feel calm when you open the door instead of overwhelmed.
Start with Step 1 this weekend. Just pull everything out and see what you’re actually working with. The rest follows naturally from there.
What’s the most chaotic part of your current pantry? Is it the spices? The random snacks? The expired cans hiding in the back? Leave a comment below — I want to know what’s driving you crazy.
Frequently asked questions about pantry organization
How do you organize a pantry step by step?
Pull everything out, declutter expired items, group by category, choose clear containers, arrange by frequency of use, label everything, and create a maintenance routine. That’s it. The system is simple — execution is the hard part.
What is the best way to organize pantry shelves?
Put daily-use items at eye level. Group by category (baking, breakfast, canned goods, etc.). Use clear containers so you can see what’s inside. Leave some space between groups so it doesn’t feel crammed. Function matters more than appearance.
What containers should I use for pantry organization?
Clear, airtight containers that are stackable. Glass or plastic works fine. Don’t worry about matching — mix and match what you have or what you find. The most important thing is you can see inside and it keeps food fresh.
How do you keep a pantry organized long term?
Spend five minutes weekly to put things back. Once monthly, pull shelves forward and check for expired items. Create a simple rule: items you use often go at eye level. That’s it.
How do you organize spices in a pantry?
Use a tiered shelf insert or a small spice rack that lets you see all labels at once. Group most-used spices at the front. Label containers with expiration dates. Replace stale spices every 6-12 months.