Table of Contents
Quick answer: a real bathroom deep clean works top to bottom and dirtiest to cleanest — ceiling and walls first, then surfaces, then the toilet last, then the floor. Most “deep cleans” skip steps because they start with whatever looks dirtiest instead of following an order that actually prevents re-spreading grime. Below is the full room-by-room checklist, the products that matter, and the order that makes the whole thing faster, not slower.
Why a Bathroom Needs a Different Cleaning Approach Than the Rest of the House
A bathroom is the one room where you’re cleaning surfaces that touch water, soap residue, skin oils, and mineral buildup all at once — which is why a quick wipe-down never actually deep cleans it. Hard water leaves mineral deposits that build invisibly for weeks before they suddenly look like a problem. Grout absorbs moisture and grime in a way tile surfaces don’t, so it needs its own specific approach rather than getting swept up in a general wipe.
That’s also why order matters here more than in most rooms. Clean the toilet first and you risk splashing bacteria onto a counter you already finished. Clean the floor before the shower and you’ll need to redo it once shower spray drips down. A bathroom deep clean rewards a specific sequence — it’s not just a checklist of tasks, it’s a checklist in the right order.
What You Need Before You Start
You don’t need a cabinet full of specialty products. A real deep clean needs: an all-purpose cleaner, a bathroom-specific cleaner with limescale-fighting acid (or plain white vinegar), a toilet bowl cleaner, a grout brush or old toothbrush, microfiber cloths, and rubber gloves. Baking soda is the one pantry item worth keeping on hand — it handles soap scum and light grime without scratching most surfaces.
Sink and Counter: The Deep Clean Steps
- Clear everything off the counter first. You can’t actually clean under bottles and clutter, and pulling everything off also forces a quick edit of expired products while you’re at it.
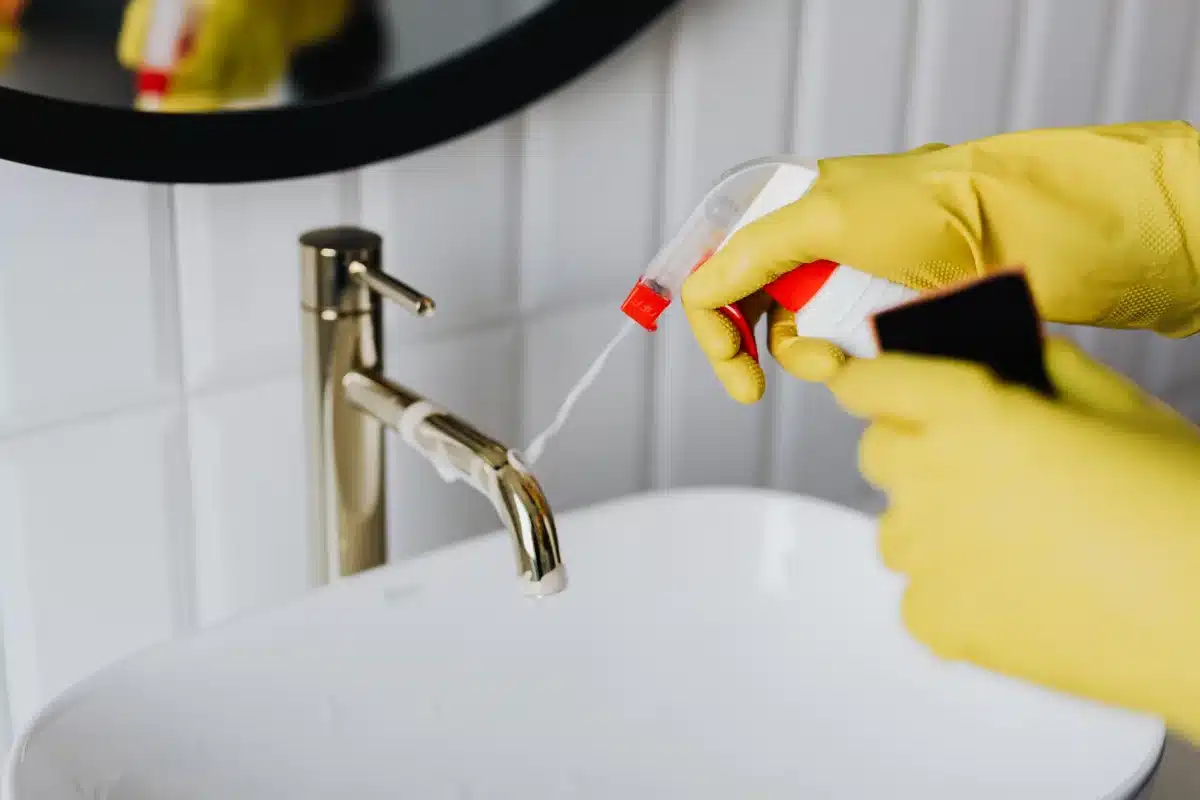
- Spray the faucet and handles, then let it sit for two minutes. Dwell time matters more than scrubbing pressure for breaking down mineral deposits around the base of the faucet.
- Scrub the faucet base and handles with an old toothbrush. This is where limescale builds up most visibly and where a cloth alone can’t reach the small grooves.
- Wipe the counter and sink basin with all-purpose cleaner. Work from the back of the counter toward the basin, so grime ends up rinsed down the drain rather than smeared across a surface you already cleaned.
- Polish the faucet dry with a separate cloth. Air-drying chrome leaves new water spots immediately, undoing the work you just did.
Shower and Tub: The Deep Clean Steps
- Run the shower hot for two minutes before you start. Steam loosens soap scum and grime, cutting your actual scrubbing time significantly.
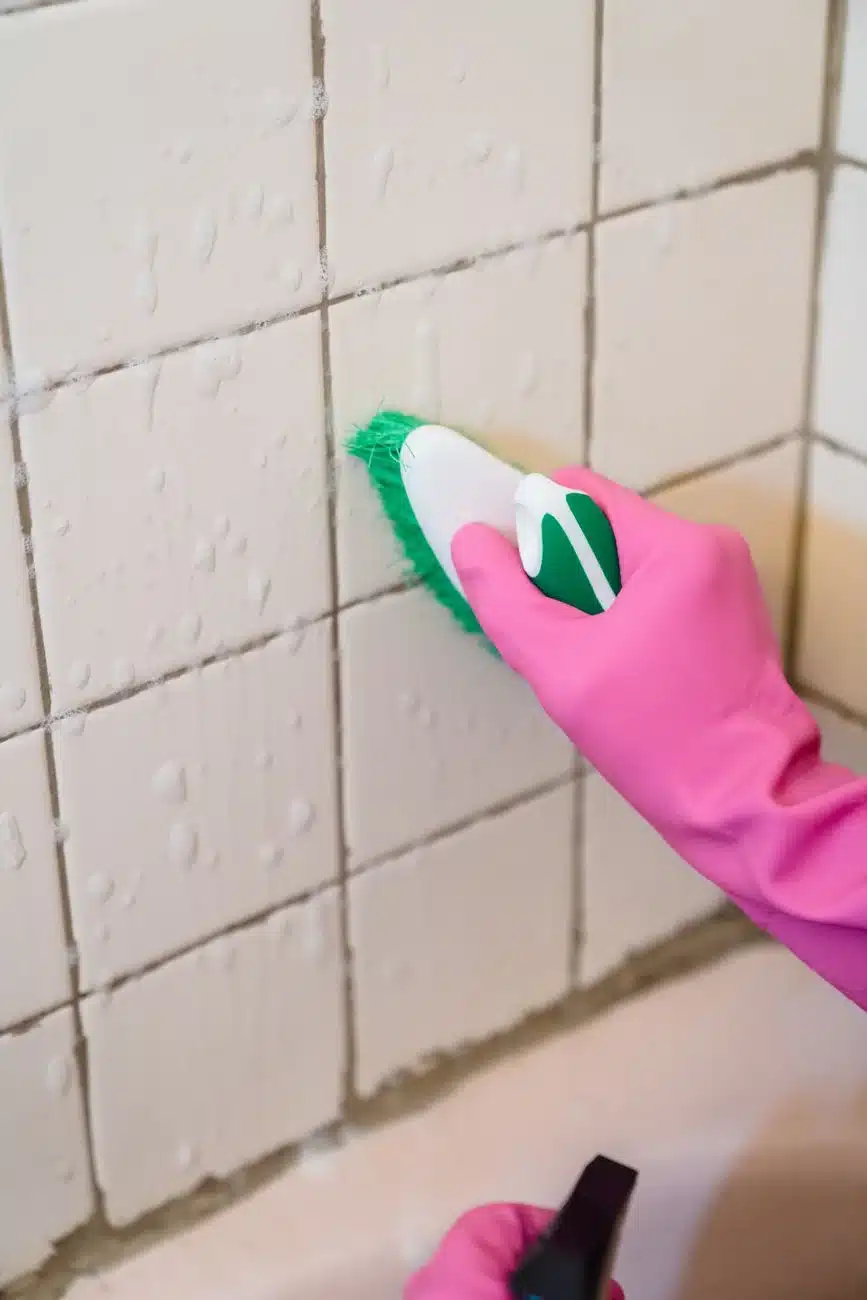
- Spray tile, grout, and the tub itself with cleaner, working top to bottom. Starting at the top means dirty runoff lands on areas you haven’t cleaned yet, not ones you’ve finished.
- Let the cleaner sit five to ten minutes before scrubbing. Most people scrub immediately, which means fighting buildup the cleaner hasn’t had time to break down yet.
- Scrub grout lines specifically with a stiff brush. Grout is the single most commonly neglected surface in a shower because it requires a different tool than the tile around it.
- Clean the showerhead separately. Mineral buildup clogs the holes over time; a vinegar soak (fill a bag, tie it around the showerhead, leave for 30 minutes) dissolves it without scrubbing.
- Rinse everything thoroughly, then squeegee the walls. A 30-second squeegee pass after every shower is what actually prevents needing this deep clean as often.
Toilet: The Deep Clean Steps
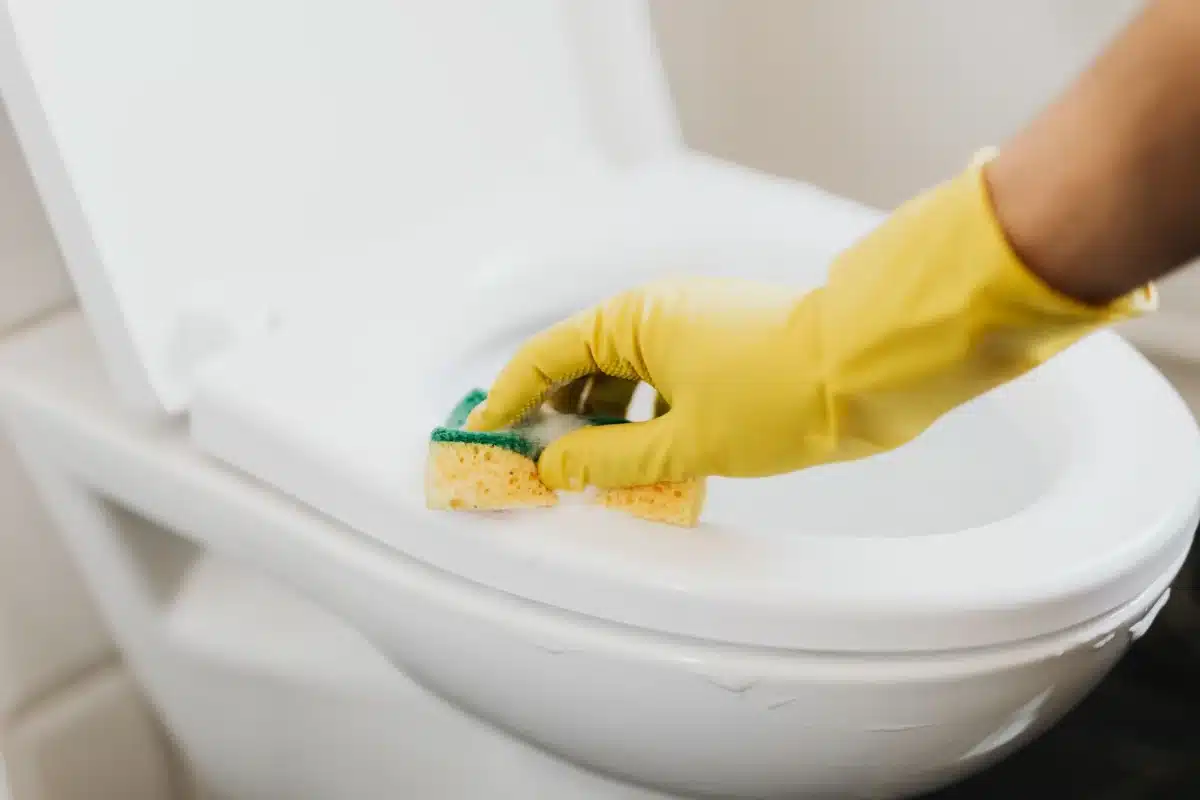
- Clean the toilet last, always. It’s the most contaminated surface in the room — cleaning it earlier risks cross-contaminating everything you clean afterward.
- Apply bowl cleaner and let it sit while you wipe the exterior. This uses your time efficiently instead of standing around waiting for the cleaner to work.
- Wipe the tank, lid, seat, and base with disinfectant, working top to bottom. The base and floor around it collect the most overlooked grime in the entire bathroom.
- Scrub the bowl with a toilet brush, including under the rim. The under-rim area is where most lingering odor actually comes from, not the visible bowl surface.
- Flush, then wipe the brush handle and store the brush to air dry. A wet brush stored in a closed holder grows bacteria — it needs airflow between uses.
Floor and Final Touches
- Sweep or vacuum before mopping. Mopping over loose hair and dust just turns it into grime smeared across the floor instead of removing it.
- Mop with a bathroom-safe cleaner, working from the far corner toward the door. This keeps you from walking back over wet, just-cleaned floor.
- Replace the bath mat and towels as a final step. Doing this last means you’re not laying clean textiles down on a floor that’s still wet.
- Empty the trash and wipe down the bin. An easy step to forget, and one of the few things guests actually notice.
Mistakes That Undo a Deep Clean Fast
- Skipping dwell time on cleaners. Spraying and immediately wiping does roughly half the work that letting a product sit does — patience here saves actual scrubbing effort.
- Cleaning the toilet before other surfaces. Beyond the contamination risk, it also means redoing surfaces you already finished if anything splashes.
- Mixing bleach and ammonia-based cleaners. This combination produces toxic fumes — always check labels and never combine cleaning products without knowing exactly what’s in each one.
- Not rinsing cleaner residue before it dries. Dried cleaner residue actually attracts more dust and grime, making the surface look dirty again faster than if you’d rinsed properly.
Real Talk:
I used to deep clean my bathroom in whatever order felt satisfying — toilet first because it bothered me most, shower last because I dreaded it. It took me embarrassingly long to realize that order was making the job harder, not easier, because I kept having to redo the sink after shower overspray hit it. Once I switched to top-to-bottom, dirtiest-last, the same amount of cleaning suddenly took twenty minutes less.
Once your bathroom has a system, the same top-to-bottom logic works well for kitchen deep cleans too. Pairing this checklist with a regular weekly cleaning schedule means you’re doing small maintenance between deep cleans instead of letting grime build back up to this level again.
According to Good Housekeeping’s bathroom cleaning guidance, working from the cleanest to dirtiest surface — finishing with the toilet — is the order professional cleaners consistently recommend, which lines up with the sequence above.
Frequently Asked Questions
How often should you deep clean a bathroom?
Most households benefit from a full deep clean every one to two weeks, with quick daily wipe-downs of the sink and a 30-second squeegee pass after showers to reduce how much buildup accumulates between deep cleans.
What order should you clean a bathroom in?
Top to bottom and cleanest to dirtiest: start with the sink and counter, then the shower and tub, then the toilet last, and finish with the floor. This order prevents cross-contaminating surfaces you’ve already cleaned.
How do you remove grout grime without scrubbing for hours?
Let a cleaner with limescale-fighting acid (or vinegar) sit on the grout for five to ten minutes before scrubbing with a stiff brush. The dwell time breaks down buildup so you spend far less time physically scrubbing.
Is it safe to mix cleaning products for a deep clean?
No. Never mix bleach and ammonia-based products, as the combination produces toxic fumes. Always check labels and use one product at a time, rinsing thoroughly between different cleaners.